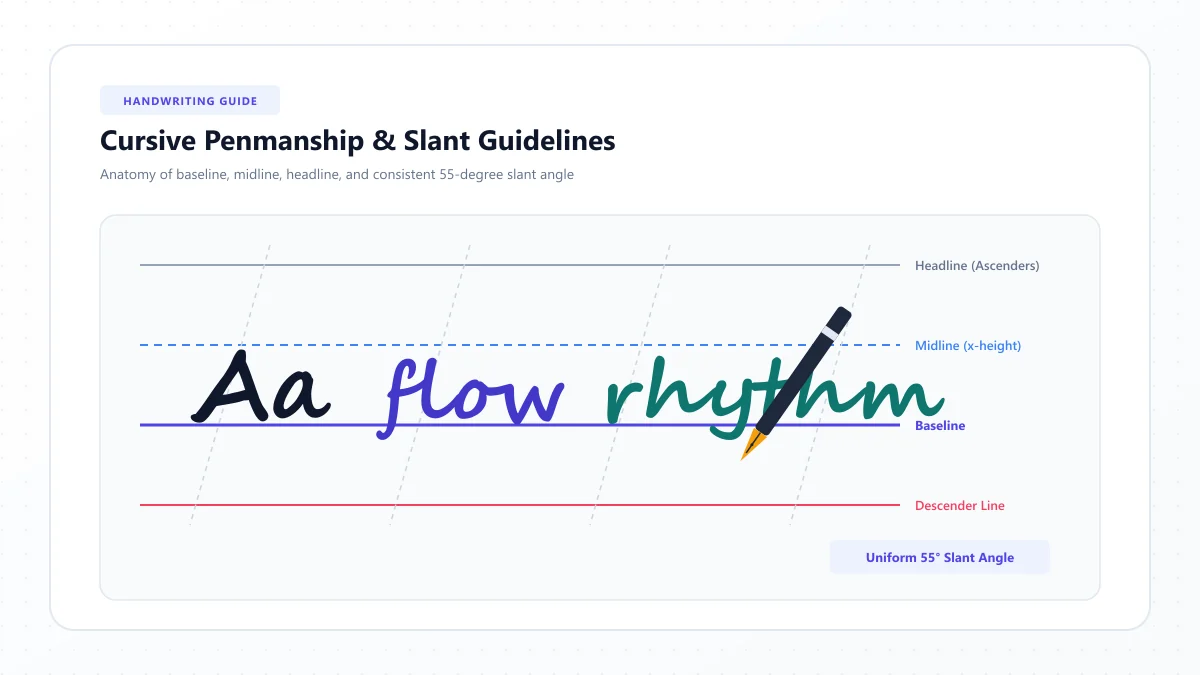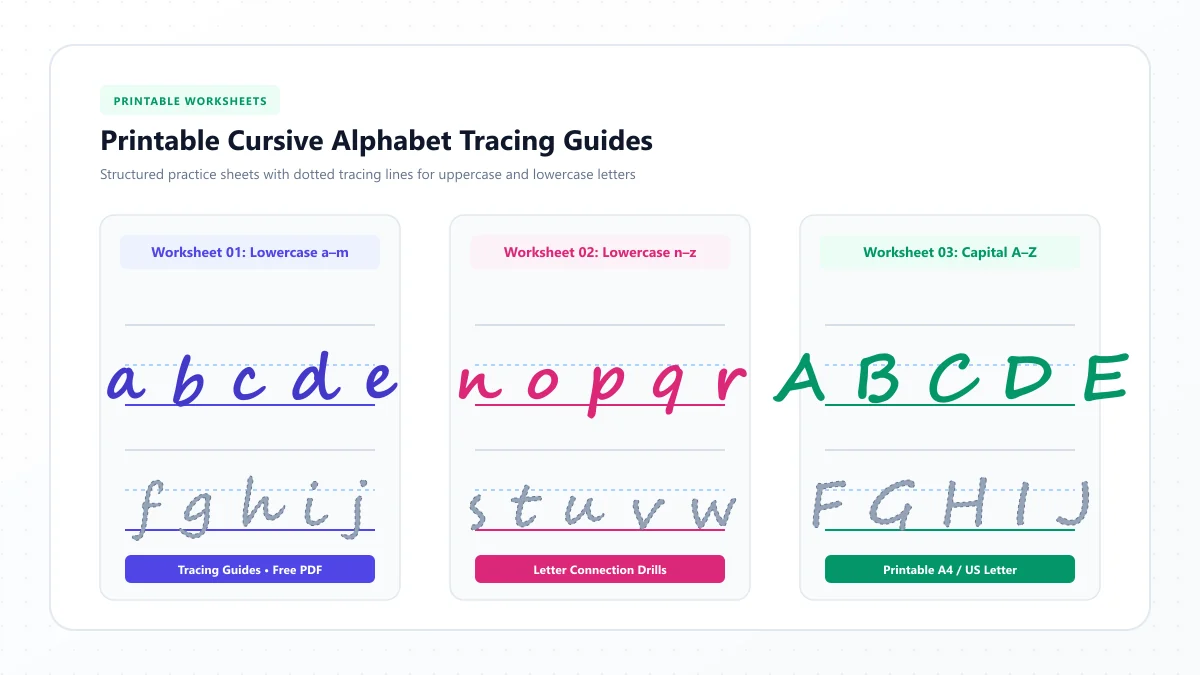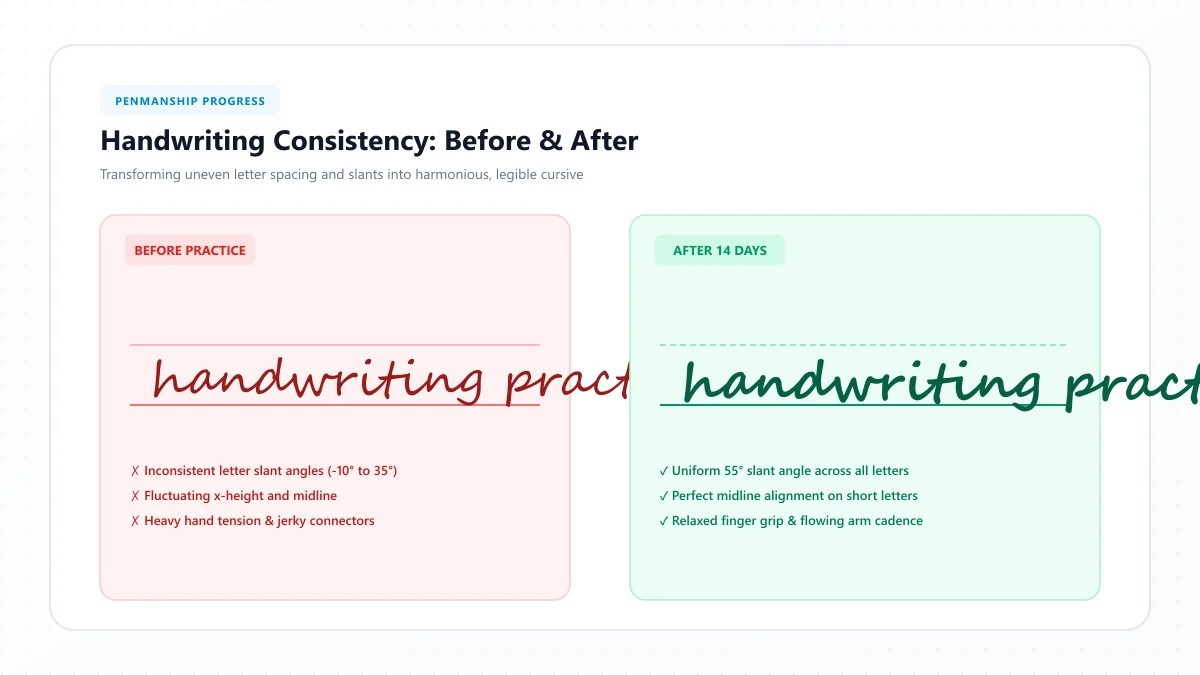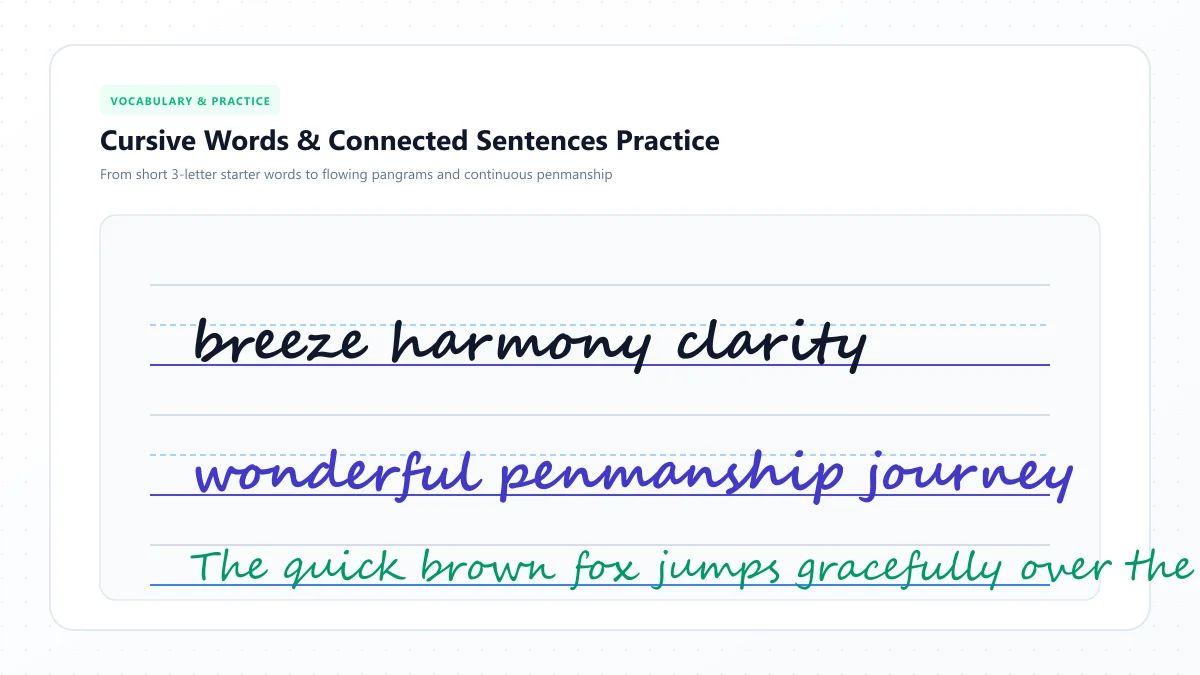
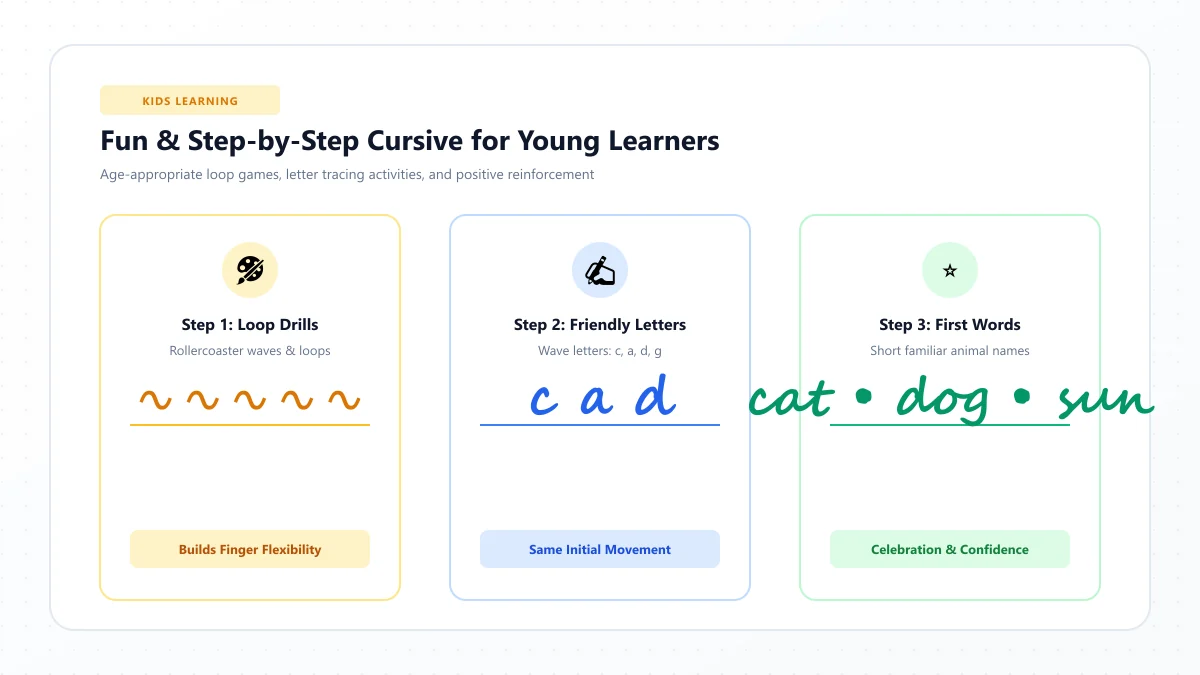
Teaching a child to write in cursive can be a lovely experience, especially when they discover that a few simple curves and loops can turn into their name, a birthday message, or a handwritten note.
But where should you begin?
Should children learn capital letters first? Is it better to teach the alphabet from A to Z? And what can you do when your child gets frustrated because their letters don't look like the examples?
If you're wondering how to teach cursive writing to kids, the answer is to start small, demonstrate each movement clearly, and build new skills gradually.
You don't need to turn every practice session into a long handwriting lesson. A few well-chosen activities, consistent letter models, and specific encouragement can make cursive easier to approach.
In this guide, you'll learn how to introduce cursive handwriting to children, recognize when they're ready, plan step-by-step lessons, teach letter connections, and use fun activities that keep practice meaningful.
You'll also find a four-week teaching plan, a sample 10-minute lesson, and practical tips for parents, teachers, and homeschool families.
How to Teach Cursive Writing to Kids: The Quick Answer
The simplest way to teach cursive writing is to begin with basic pencil movements, introduce lowercase letters in groups that share similar strokes, and gradually progress to connected words and sentences.
Here's a practical teaching sequence:
- Check whether your child is comfortable with basic pencil use and printed letters.
- Choose one consistent cursive handwriting style.
- Demonstrate simple curves, arches, ovals, and loops.
- Teach a few lowercase letters with similar movements.
- Let your child watch, trace, copy, and then write independently.
- Introduce easy letter connections after individual forms are recognizable.
- Practice familiar words, especially the child's name.
- Add uppercase letters and short sentences as confidence develops.
- Give specific feedback and revisit difficult movements.
- Keep lessons manageable and adjust them to the child's progress.
The goal isn't to produce perfect handwriting immediately. It's to help children understand how letters are formed and gradually write them with confidence and control.
When Should Kids Start Learning Cursive Writing?
There isn't one perfect age for every child to begin cursive.
Some schools introduce cursive during the early elementary years, while others teach it later. The appropriate starting point depends on the curriculum, the child's existing handwriting abilities, and their readiness for new letter movements.
Rather than focusing only on age, look for a few practical signs.
Signs your child may be ready
A child may be ready to begin introductory cursive lessons when they can:
- Recognize most letters of the alphabet.
- Form basic printed letters with reasonable control.
- Copy simple shapes and short words.
- Use a pencil comfortably.
- Understand straightforward movement instructions.
- Participate in brief handwriting activities without significant discomfort.
These are useful observations, not a formal developmental test.
A child who finds printed handwriting difficult may benefit from additional foundational instruction before introducing cursive, although a teacher or occupational therapist may recommend a different sequence for individual learning needs.
What if your child isn't interested yet?
You don't have to begin with letter drills.
Try drawing large waves, circles, spirals, and loops on paper. These activities introduce some of the movements used in cursive without requiring the child to memorize letters.
You could also show a handwritten greeting card or write their name in a simple cursive style.
The aim is to spark curiosity, not force a lesson before the child is comfortable.
What Do You Need to Teach Cursive at Home or School?
You can teach the basics with inexpensive, everyday materials.
A simple setup includes:
- A comfortable pencil or pen
- Handwriting paper with clear guidelines
- A reliable cursive alphabet model
- A few practice words
- A small whiteboard or blank paper
- A quiet, comfortable writing space
You don't need a fountain pen, expensive stationery, or specialized calligraphy supplies.
Choose the right handwriting model
One of the most important decisions is choosing a consistent style.
Different handwriting methods use different letter shapes and joining rules. Traditional looped cursive, simplified modern cursive, and school-specific programs may form certain letters differently.
If your child is learning cursive at school, use the same model whenever possible.
Mixing unrelated styles can make the learning process unnecessarily confusing.
You can explore our Cursive Alphabet Chart for general letter recognition, but use instructional handwriting models that show actual pen strokes when teaching letter formation.
Decorative digital script characters are not a substitute for stroke-direction demonstrations.
Step 1: Start With Fun Pre-Writing Movements
Before introducing cursive letters, help children explore the movements that appear repeatedly in handwriting.
This can be especially useful for younger learners or children who haven't practiced flowing letterforms before.
Practice waves
Draw a row of smooth waves.
Encourage the child to follow the pattern without making the movements too sharp.
Waves introduce changes in direction and a more continuous writing rhythm.
Practice arches
Draw a sequence of rounded humps.
These movements resemble parts of lowercase letters such as m and n in many cursive styles.
Practice ovals
Draw large ovals, then make them gradually smaller.
Oval movements appear in letters such as a, c, d, g, and o, although the precise strokes depend on the chosen method.
Practice loops
Introduce simple upward and downward loops.
Encourage smooth, controlled movements rather than making loops as large or elaborate as possible.
Try an air-writing activity
Make large letter-like movements in the air using the writing hand.
Then repeat the motion on paper.
Large movements can help children see the overall direction before working at a smaller scale.
Teaching tip: A short warm-up is enough. If the child is comfortable and interested, move into a letter lesson instead of spending the entire session on repetitive patterns.
Step 2: Teach Lowercase Cursive Letters in Groups
Teaching the alphabet strictly from A to Z isn't always the easiest approach.
Many lowercase cursive letters share similar movements, so grouping them by shape can make lessons easier to organize.
The following groups are a practical starting framework. Follow your school's prescribed teaching order if it differs.
Group 1: Simple undercurve letters
Start with:
i, u, t, w
These introduce rising curves and repeated movements.
Begin with one letter. Demonstrate its shape and let the child repeat it.
For example, lowercase i provides a relatively simple main movement, followed by the dot.
Once the letter is recognizable, introduce another letter from the group.
Practice short combinations such as:
it, ut, ti, wi
Only use connected pairs after the child has learned the relevant letterforms.
Group 2: Rounded letters
Next, introduce:
a, c, d, g, o, q
These letters have rounded structures, but not every one uses exactly the same stroke sequence.
Start with simple ovals and curves.
Show how different letters use related movements while adding their own stems, loops, or finishing strokes.
Use familiar words such as:
cat, go, dad, add
Group 3: Loop and tall letters
Practice:
e, l, h, b, k, f
Many looped cursive styles use tall ascending movements for several of these letters.
Begin with a letter such as l, demonstrate its movement, and compare its height with shorter lowercase letters.
Then practice words such as:
he, be, elf, bell
Keep loops controlled and large enough to remain recognizable.
Group 4: Arch and remaining letters
Introduce:
m, n, r, s, v, x
Practice the individual shapes before combining them.
For example, m and n help children develop control over repeated arches, while r and s may need additional attention because their cursive forms differ from print.
Group 5: Descending letters and remaining forms
Work on:
j, p, y, z
These include forms with strokes below the baseline.
Show the child the writing space beneath the main line and demonstrate how descending letters use it.
Once all lowercase letters are familiar, revisit whichever shapes still need practice.
Step 3: Use the Watch, Trace, Copy, Write Method
A practical way to organize a cursive lesson is to move from demonstration to independent writing.
Watch
Write the letter slowly while the child watches.
Show where the pencil begins, the direction of each movement, and any necessary pen lifts.
Use a short verbal explanation that matches the actual movement.
For instance, you might describe a simple curve as:
"Start low, curve upward, and come back down."
Avoid giving instructions that contradict the handwriting model.
Trace
Let the child trace a correctly formed example.
Tracing provides guidance about the path of the letter, especially when the worksheet includes clear starting points and directional arrows.
Copy
Ask the child to write the letter beside the example rather than directly over it.
This encourages independent control while keeping a model nearby.
Write independently
Finally, cover the example or remove it from view.
Can the child write the letter without tracing or copying?
If not, return to the earlier stage and demonstrate the movement again.
Review
Choose one feature to discuss.
For example:
"Your letter is the right shape. Let's make the next one a little smaller so it fits between the lines."
Specific feedback is more useful than simply saying that the handwriting is good or bad.
Step 4: Teach Children How Cursive Letters Connect
Once individual lowercase letters are reasonably familiar, introduce joins.
A join is the movement that leads from one letter to the next.
Some letters finish near the baseline, while others exit higher. Children need to learn these differences rather than assuming all connections use the same movement.
Begin with simple letter pairs
Try:
- in
- an
- it
- un
- ai
Demonstrate one pair at a time.
Show how the first letter's finishing stroke leads into the beginning of the next.
Move to easy words
When short pairs feel comfortable, introduce words such as:
cat, sun, dog, mom, dad
Pause to explain any higher joins, loops, or additional pen movements.
Don't force every letter to connect
Cursive handwriting doesn't mean that the pencil must stay on the paper without interruption.
Depending on the style, children may need to lift the pencil to add dots, crossbars, complete certain letters, or begin capital letters.
Teach the joining rules appropriate to the selected handwriting model.
For detailed examples, use our dedicated guide, How to Connect Cursive Letters.
Step 5: Introduce Uppercase Cursive Letters
Capital letters can be introduced once the child is comfortable with basic lowercase formation, or according to the order recommended by their school curriculum.
Some uppercase cursive letters resemble printed capitals, while others can look quite different.
Start with familiar capital letters from the child's name or from words they use frequently.
For example:
- A — Anna
- B — Ben
- C — Chloe
- D — Daniel
- E — Emma
- L — Lily
- M — Mia
- S — Sam
Show how the capital appears at the beginning of the word.
Many traditional cursive capitals do not connect directly to the following lowercase letter. Other styles use a connecting stroke.
Follow the conventions of the selected method.
Avoid introducing too many decorative flourishes before children can form the basic uppercase shapes confidently.
Step 6: Move From Letters to Words and Sentences
Children often enjoy cursive more once they can use it to write something meaningful.
Begin with familiar, short words.
Easy cursive words for kids
cat, sun, dog, mom, dad, pen, tree, love, happy, hello
Choose words containing letters the child has already practiced.
If b is difficult because of the tall loops, practice h and l again before rewriting the entire word.
Simple cursive sentences
When short words feel manageable, introduce sentences such as:
- I love my dog.
- The sun is warm.
- My name is Mia.
- We like to play.
- I can write in cursive.
- The cat is sleeping.
- Today is a happy day.
- I enjoy reading books.
Start with one sentence rather than assigning an entire page.
Ask the child to check the capital letter, word spacing, and punctuation after writing.
10 Fun Cursive Writing Activities for Kids
Cursive practice doesn't have to mean copying letters repeatedly.
The following activities turn handwriting into something children can use, share, or enjoy.
1. Write your name in cursive
Start with a child's first name.
Demonstrate the letters, practice difficult connections, and let them write the complete name.
For a longer activity, add a middle name or surname.
2. Make cursive name cards
Have children write names on small cards.
They can create cards for friends, family members, or classroom objects.
This makes handwriting feel purposeful.
3. Create a handwritten birthday card
Ask the child to write a simple greeting such as:
Happy Birthday, Grandma!
They can decorate the card after completing the handwriting.
4. Play letter detective
Write several cursive letters or words.
Ask children to identify them and match them with their printed forms.
Use clear, accurate letter models.
5. Try rainbow tracing
Write a model letter lightly.
Let the child trace it in different pencil or crayon colors.
Make sure they follow the correct stroke direction rather than merely outlining the shape.
6. Write a secret message
Create a short message in cursive and let the child decode it.
Then ask them to write a reply.
This combines reading and writing practice.
7. Make a cursive word jar
Write familiar practice words on slips of paper.
Each day, the child selects a few words to write.
Choose words that match the letters and joins already learned.
8. Create a handwriting progress book
Save one short writing sample each week.
Add the date and let the child choose a favorite letter or word from the page.
Review the samples occasionally to notice changes.
9. Practice with a mini-whiteboard
Demonstrate a letter on a whiteboard.
Let the child copy it, erase it, and try again.
This can make corrections easier and reduce the need to use multiple worksheets.
10. Write a real thank-you note
Help the child write a short message to a teacher, friend, or family member.
For example:
Thank you for being a great teacher.
A real message gives the child a reason to use their developing handwriting skills.
A Simple 10-Minute Cursive Lesson for Kids
Short, structured lessons can make practice easier to manage.
Here's a sample routine for a child who is ready for handwriting instruction.
Time | Activity | Parent or teacher action |
|---|---|---|
2 minutes | Warm-up | Practice curves and loops |
2 minutes | Demonstration | Model one letter or join |
2 minutes | Guided practice | Watch the child trace and copy |
2 minutes | Independent writing | Ask the child to write without tracing |
2 minutes | Review and application | Give specific feedback and write a word |
This is a suggested lesson format, not a mandatory duration.
Some children may benefit from shorter sessions, movement breaks, or more demonstrations.
Stop or adjust the activity when handwriting becomes uncomfortable or the child can no longer concentrate effectively.
A Four-Week Cursive Writing Lesson Plan
If you're teaching cursive at home or organizing introductory classroom instruction, use this flexible plan.
The schedule assumes the child is already comfortable with basic handwriting tasks. Children may need more than four weeks to become confident, and school curricula may prescribe a different sequence.
Week | Main learning goal | Activities | Progress check |
|---|---|---|---|
Week 1 | Learn foundational movements and simple lowercase letters | Curves, ovals, loops, i, u, t, w | Can the child recognize and form practiced letters? |
Week 2 | Expand lowercase letter knowledge | Rounded, tall, and descending letters | Are practiced letter shapes reasonably consistent? |
Week 3 | Introduce letter joins and short words | Two-letter pairs, name practice, familiar words | Can the child form a few readable connected words? |
Week 4 | Introduce selected capitals and simple sentences | Names, greetings, short sentences | Can the child write a brief readable message with guidance? |
Use this plan as a starting framework, not as a fixed deadline.
If the child struggles with basic letter formation during Week 2, it may be better to continue that work rather than rushing into joins.
How to know when to move to the next lesson
Look for practical signs:
- The child can recognize the target letter.
- They can describe or demonstrate its starting movement.
- They can copy the letter with reasonable accuracy.
- They can write it independently with manageable effort.
- They can recognize a mistake and attempt to correct it.
There is no requirement for every letter to look identical before progressing.
How to Teach Cursive Writing to Different Age Groups
Children of different ages and experience levels may need different teaching approaches.
Younger beginners
Use large movements, simple shapes, visual demonstrations, and brief activities.
Focus on pencil control, letter recognition, and enjoyment before expecting connected paragraphs.
Elementary school learners
If they already write comfortably in print, introduce systematic letter groups, handwriting guidelines, and simple joins.
Use words from familiar reading and spelling lessons.
Older children learning cursive for the first time
Older beginners may prefer meaningful activities rather than worksheets designed for much younger children.
Try signatures, journal entries, quotations, or handwritten notes.
Keep the instruction focused on their actual handwriting skills rather than assuming all older children already understand cursive letter formation.
How to Help a Child Who Struggles With Cursive
Not every child finds connected handwriting easy.
A child might have difficulty remembering the letter shape, controlling a loop, joining letters, or maintaining writing comfort.
The best response depends on the specific problem.
If the letters are difficult to recognize
Return to the correct model.
Demonstrate one letter slowly, then guide the child through tracing, copying, and independent writing.
If letter size is inconsistent
Use handwriting paper with clear baselines and middle guidelines.
Practice a small group of letters that share similar heights.
If joins look awkward
Practice a two-letter combination rather than a full word.
Explain where the first letter ends and where the next one begins.
If the child writes too quickly
Reduce the amount of writing.
Ask them to focus on one carefully formed word instead of racing through an entire worksheet.
If the child becomes frustrated
Change the task, take a break, or return to an easier activity.
The child may need more modeling, less repetition, or a different teaching approach.
If handwriting is persistently painful or unusually difficult
Don't assume the solution is simply more practice.
If handwriting causes ongoing pain, pronounced fatigue, or significant difficulty with pencil control, discuss the concern with the child's teacher or a qualified healthcare professional, such as a pediatric occupational therapist.
An individualized assessment may identify ways to make writing more accessible and comfortable.
Common Mistakes Parents and Teachers Should Avoid
Teaching too many letters at once
Introducing the entire alphabet in one lesson can overwhelm beginners.
Teach a manageable group, review it, and move forward gradually.
Mixing different cursive handwriting systems
Changing letter shapes between worksheets can confuse children.
Choose one primary instructional model.
Relying only on tracing
Tracing is helpful, but children also need opportunities to copy and write independently.
Progress gradually from supported to independent practice.
Correcting every detail on every page
Too much feedback can make handwriting feel discouraging.
Choose one or two specific improvements for each session.
Expecting decorative handwriting
Ordinary, readable cursive is a useful achievement.
Elaborate calligraphy and flourishes aren't necessary for beginner handwriting lessons.
Ignoring pencil comfort
A child who is gripping tightly or sitting awkwardly may find writing tiring.
Check for comfortable writing conditions and take appropriate breaks.
Using digital cursive fonts as exact handwriting instructions
Decorative Unicode symbols show a particular visual appearance, but they don't automatically demonstrate correct pen direction, stroke order, or school-specific joins.
Use genuine handwritten instructional examples for teaching physical cursive movements.
How to Track a Child's Cursive Writing Progress
A simple checklist helps parents and teachers focus on learning rather than perfect-looking pages.
Use the following questions after a few lessons.
Skill | What to observe |
|---|---|
Letter recognition | Can the child identify the letters they've learned? |
Starting points | Do they begin strokes in the appropriate places? |
Stroke direction | Do they follow the chosen handwriting model? |
Letter size | Are the letters reasonably proportioned? |
Baseline control | Do letters sit in the appropriate writing zones? |
Connections | Can the child join a few familiar letter pairs? |
Word spacing | Are separate words easy to distinguish? |
Independent writing | Can they write a familiar word without tracing? |
Writing comfort | Can they complete the activity without undue strain? |
This is an informal educational checklist rather than a standardized assessment.
Save occasional writing samples and compare them with earlier work.
Look for improvements in control, readability, and independence.
Teaching Cursive at Home vs. in the Classroom
The basic handwriting skills are similar, but the teaching environment changes how lessons are organized.
At home
Parents can adapt the pace to one child.
You might practice a few letters after homework, write a short family note, or use the child's name as a familiar starting point.
If your child is learning cursive in school, ask which handwriting model is being used so home practice reinforces the same shapes.
In the classroom
Teachers may need to demonstrate movements to several children while observing individual differences.
Large letter models, whiteboards, guided practice, and short independent activities can help structure a lesson.
Consider grouping learners by the specific handwriting skill they need to practice rather than assuming everyone requires the same amount of repetition.
For homeschooling
Homeschool families can combine structured handwriting instruction with everyday writing.
Children might practice a letter group, write vocabulary words, or create a handwritten message related to another lesson.
Keep letter formation consistent and review progress before introducing more difficult joins.
Can Online Tools Help Kids Learn Cursive?
Online tools can provide visual examples and support handwriting activities, but it's important to choose the right tool for the goal.
A cursive alphabet chart can help children recognize letterforms.
A letter guide may explain the movements needed to form a particular character.
A printable worksheet can provide guided writing space.
A digital cursive text generator serves a different purpose: it converts typed text into decorative script-style characters.
Our Cursive Alphabet Chart and Cursive Letters Directory can be used as general reference resources.
For decorative digital lettering, our Cursive Text Generator lets users explore copyable script styles.
However, when teaching handwriting to children, prioritize accurate physical stroke demonstrations and a consistent instructional handwriting method.
Frequently Asked Questions
What is the easiest way to teach cursive writing to kids?
Start with simple curves and loops, teach lowercase letters in small movement groups, and use a sequence of watching, tracing, copying, and independent writing. Introduce connections gradually and use familiar words to make practice meaningful.
What age should a child learn cursive?
There is no universal starting age. Readiness depends on the child's handwriting development, comfort with printed letters, and school curriculum. Focus on skills and individual needs rather than a strict birthday cutoff.
Should children learn uppercase or lowercase cursive first?
Lowercase letters are a practical starting point because they appear more frequently in ordinary words and introduce many connecting movements. Some school curricula use a different order, so follow the child's instructional program when applicable.
How long should kids practice cursive every day?
A short, focused session can be a useful starting point. For example, around 5–10 minutes may be manageable for some children, while others will benefit from shorter activities or breaks. Adjust the duration according to comfort and attention.
Is cursive harder for kids than print handwriting?
Cursive involves different movements and letter connections, so some children find it challenging at first. Others enjoy its flowing patterns. The difficulty varies with the learner and the handwriting system.
How can I make cursive practice fun?
Try name cards, birthday greetings, rainbow tracing, secret notes, whiteboard practice, word jars, and short handwritten messages. Use activities connected to the child's interests.
Should I teach cursive letters alphabetically?
Not necessarily. Grouping lowercase letters by shared strokes can make instruction more systematic. If the child's school uses a particular sequence, reinforce that method.
Why is my child struggling to connect cursive letters?
They may still be learning where individual letters begin and end, or they may be confusing different exit strokes. Practice specific two-letter joins with clear demonstrations before moving back to complete words.
Can kids learn cursive without worksheets?
Yes. Children can practice on ordinary lined paper using accurate demonstrations and appropriate handwriting models. Worksheets add structure but aren't the only way to learn.
Are cursive text generators useful for children?
They can help children explore decorative letter styles, but generated Unicode text does not necessarily show accurate handwriting strokes. Use proper handwriting models when teaching physical pen movement.
What should I do if my child dislikes cursive practice?
Try shorter sessions, easier examples, and meaningful activities. Ask what feels difficult or frustrating. If handwriting itself is persistently uncomfortable or unusually challenging, seek advice from their teacher or an appropriate professional.
Final Thoughts: Help Kids Enjoy Learning Cursive
Teaching cursive writing to kids is about more than showing them how to draw beautiful letters.
Children need time to understand unfamiliar movements, practice connections, and discover how handwriting can be useful in everyday life.
Begin with foundational strokes, introduce lowercase letters gradually, and use a consistent handwriting method. Demonstrate movements clearly, provide manageable exercises, and move toward names, words, and short sentences when your child is ready.
Most importantly, keep the experience encouraging and practical.
A carefully written name, a short greeting card, or a readable handwritten sentence is a meaningful step forward.
For additional resources, explore our Cursive Alphabet Chart, browse the Cursive Letters Directory, and use our separate printable worksheet guide for more handwriting practice activities.
References and further reading
- Understood.org — How to help your child with writing
- Edutopia — Teaching handwriting to older students
- Learning Without Tears — handwriting curriculum publisher
These links are provided for further reading. External websites and information may change.